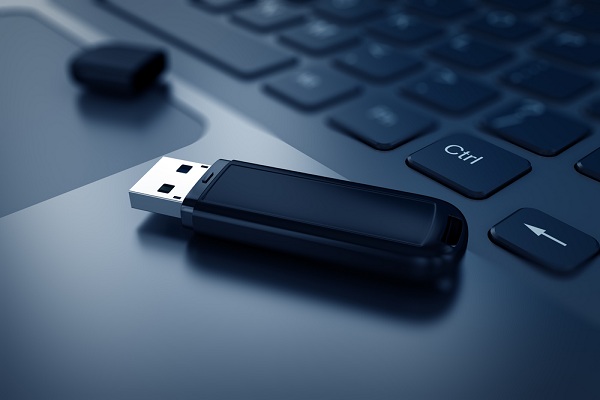
How to create a Bootable USB Drive in Windows and Mac
There are a number of uses of a bootable USB drive, especially for booting your computer and removing the virus. Also, if your computer is not starting properly, then your hard drive may be faulty or there can be a partition problem, etc. Here is how to create a bootable USB drive on your computer:
On Windows
Here is the process for creating a bootable drive in Windows. Follow the instructions carefully.
• First, you can take your USB flash drive and insert it into your computer’s USB ports.
• Then launch the Windows Start icon.
• Then you can enter the command prompt in the search bar of your computer.
• After that, right click on Command Prompt option.
• Then select Run as administrator. This option you can see in the drop-down menu.
• Select “Yes” and follow the instructions on the screen.
• Then enter diskpart and after that press the enter button.
• You can enter list disk and click enter into the Command Prompt.
• Then you can identify your USB flash drive with the help of name and size in GB.
• Now you can choose your USB flash drive and enter disk number and click enter.
• Then enter clean into the command prompt and erase all USB flash drive’s contents.
• After that, you can make a new partition the flash drive. Like this:
1. Enter “create partition primary” and hit Enter.
2. Select “partition 1” and hit Enter.
3. Enter “active” and press enter.
• Now, it’s time format the flash drive, just enter “format fs=fat32 quick” and click Enter.
• After that, click on assign and hit enter.
• Then you can see a confirmation message on your screen.
• Now your USB flash drive is converted into the bootable drive, and you can close the Command Prompt screen.
On Mac
Here is the process of creating a bootable drive in Mac. Follow the instructions carefully.
• First, you can take your USB flash drive and insert it into the USB port of your computer.
• If you wish to create bootable USB drive then you must have an ISO file otherwise you can’t create Bootable USB drive.
• Click on Spotlight icon.
• Then enter “terminal.”
• Double tap on terminal application.
• After that, you can enter the “diskutil list” and click Return. You can see a list of connected drives.
• Then you can identify your USB drive.
• Click on the USB drive.
• Then enter “sudo dd if=” and don’t click on Enter.
• Select and move the ISO file slowly into the terminal screen.
• Then select Space key.
• After that, you can type the rest of the Command.
• Then enter your login password of your Mac.
• Now, click on Return and the process will start making bootable USB flash drive.
Joey Williams is a Microsoft Office expert and has been working in the technical industry since 2002. As a technical expert, Robert has written technical blogs, manuals, white papers, and reviews for many websites such as office.com/setup.


Comments
Post a Comment